How to install skins in Minecraft. How to install a skin in Minecraft How to install a skin to
A skin is the appearance of your character in the game Minecraft. By default, the player receives Steve's skin; if you play on a server, you can meet a bunch of people exactly alike because they haven't changed their skin. To give your character individuality, you need to change his skin.
How to install a skin for the licensed version of minecraft
To install a skin in minecraft or change it, you need to go to the official Minecraft website and change the special profile image.
1. Download one of the skins on the page skins for minecraft(skin diagram)
2. Go to the login page on the official Minecraft website - Minecraft.net/login.
3. Enter your username and password:
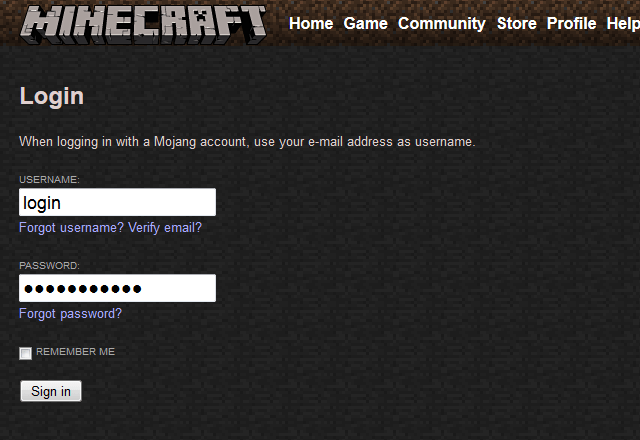
4. Follow the Profile link, click the “Browse” button under the “Change how you look in Minecraft” heading and upload your skin diagram. Click the "Upload" button. Ready! Enter the game and press the “F5” key several times to see what you look like in your new look.
How to install a skin for a pirated version of minecraft
There are several ways, the simplest of which is changing your nickname. As a rule, pirate launchers allow you to enter any nickname, which means you can choose any skin from those that already exist. You can use one of the nicknames on the skins by nicknames page, or the minecraft skin search site, in the second case you will receive a million-strong database of skins.
Playing with a standard skin is boring and uninteresting for many, so you should think about installing your own skin. This instruction describes this process in full, which, by the way, will not take more than five minutes, and your skin will delight you for a long time. Of course, you must use our launcher; you can download TLauncher from the main page of the site.
All skins are absolutely free - installation and use in our launcher!
You must register on the site so that you can subsequently use the specified data for authorization in the launcher. Go to the registration page and enter the required data in the fields.

After registration, you will find yourself in your profile, from where you can not only install the skin, but also the cloak (only for Premium users).

By clicking the "Upload skin" button, you can select a skin file from your computer. We recommend using the size 64x32 (unless, of course, you purchased Premium, with which you can install HD skins, that is, skins with high resolution). In addition, you can choose from our catalog, they are all beautiful.

We launch our favorite TLauncher, which you have already downloaded, and check the box next to “Accounts”. Click on the tab with accounts, in your case it says “No accounts”, a list will open from where clicking the “Set up accounts” button will go to the authorization page.

On this page, enter your data specified during registration - Login/Email address and password. Click the "Save" button to log in.

If authorization is successful, then home page launcher you will see your login with the TL icon. Now select from the list any version with the TL icon (Which means that this version supports our skin system) and launch it. Your skin will already be in the game!

Possible problems with TLauncher skins:
Question: Is it free?
Answer: Yes! You can register and install your own skin absolutely free. Only if you want Cloak and HD Skin, you need TLauncher Premium.
Question: I don’t see my skin!
Answer: Most likely, you did not complete one of the instructions. Usually the problem is that you launch the version without the TL icon or are not logged into the launcher through your website account.
Question: I see my skin, but my friends don’t, what should I do?
Answer: You and your friends must use the same skin system, that is, give them a link to download this launcher and create an account on the site according to the instructions above!
Are you tired of the character's standard appearance? This guide will tell you and show you how to install a skin on Minecraft of any version, including the popular 1.7.10 and the new 1.12.2/1.13. The guide is designed for pirates and licenses. Installation takes little time. Beginners and experienced players can handle it easily. The video at the end will show the entire algorithm of actions in action.
Install any skin in a few simple steps
- First you need to get what you want to install. Beautiful skins can be downloaded from our website or made in the online editor.
- The picture may be in the archive. It needs to be removed. We use WinRAR or a similar program.
Installation on pirated version 1.5.2 and below
- The image should be named “char.png”. Rename it if necessary.
- You need to open “%appdata%\.minecraft”. Click on Start or press the key combination WIN+R. Type or copy “%appdata%” and press Enter.
- Go to the directory with the game, then bin. Open minecraft.jar with WinRAR. In it we see a list of folders. Open mob.
- Replace the char.png file with your skin.
Installing a skin on a pirated Minecraft 1.12.2/1.11.2/1.10.2/1.9.4/1.8.9/1.7.10
- Rename the skin to Steve.png.
- Open the game folder: click Start on the panel or WIN+R, enter “%appdata%\.minecraft\versions\”.
- Open the folder with the version you are playing.
- Open jar file in the WinRAR program and go to assets > minecraft > textures > entity.
- Drag here Steve.png with confirmation of replacement.
Instructions for license
Purchasing a licensed game gives you access to a profile on the website https://minecraft.net/ru-ru/profile/. Follow the link, log in and upload the file from your computer.
Thinking about changing the appearance of your character? Read detailed instructions about how to change skin in minecraft. The article will help beginners who decide to try to stand out among thousands of “” and “”.
Nobody likes to be invisible, except for a certain group of people, so in Minecraft Pocket Edition and there is character customization, although it only consists of one skin choice. But, as they say, at least some result is better than no result at all. So we enjoy what we can.
Initially, the game did not have the ability to add your own skins. However, over time, something appeared that made it possible to correct this situation. And through some manipulations, it was possible to change the appearance of the character, but bad luck - the change is not visible to other players.
However, for quite some time now the developers have deigned to add their own, official, version of this method. By the way, it still works exactly the same, only it has been made even more convenient - now there is no need to go into the settings every time.
The first thing you need to do is download any of the .
Skinpack for camouflage
Here you need to practice a little and very soon you will be able to easily hide from your friends or enemies.
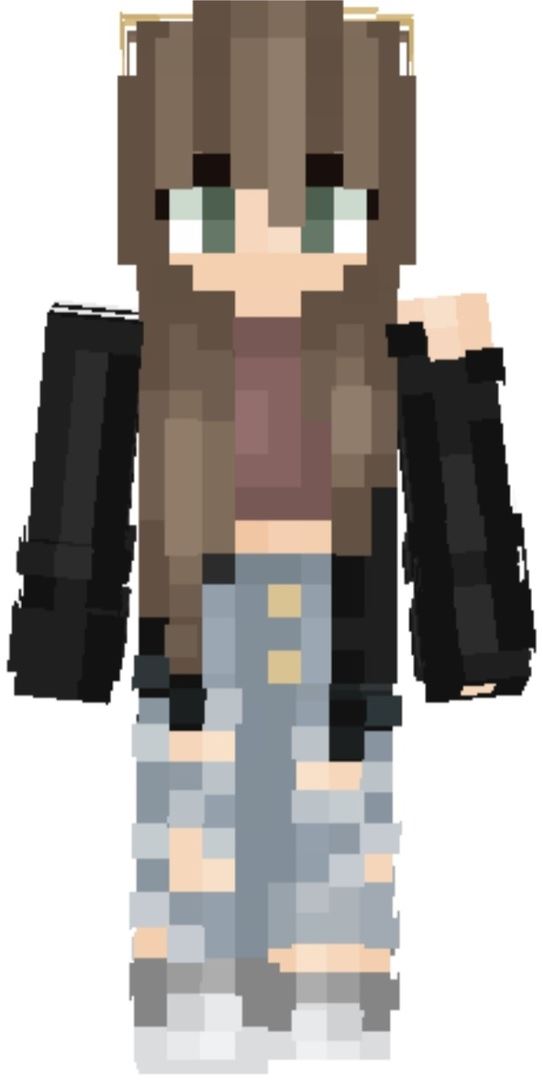
Stylish girl skin
Let's dilute the atmosphere a little, especially for the fair half of our community. The look is suitable for girls, or if you want to “prank” someone. Despite its apparent simplicity, this look is worth the download.
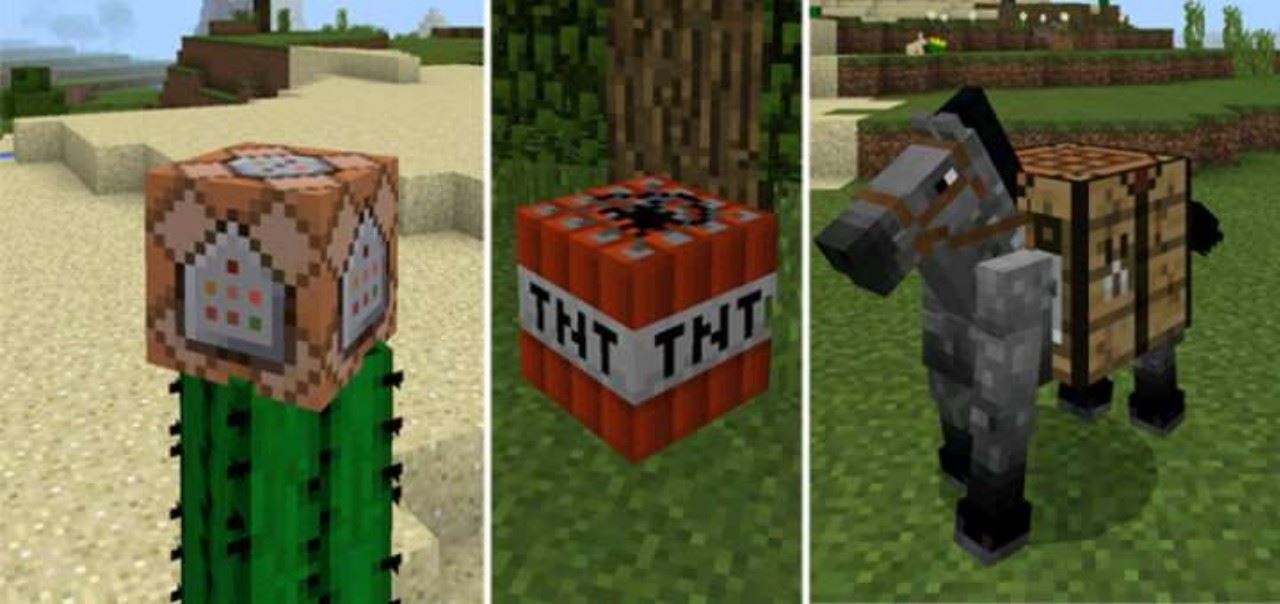
Ultimate Block
So, I’ll probably end my impromptu rating with another skin pack, which will also help you hide. Yes, again. Only this time you will literally turn into living and running blocks. No matter how absurd it may sound. You can enjoy this view just below.
Instructions on how to change skin in Minecraft
So, if you have already decided on your choice, then we can begin the process of change.
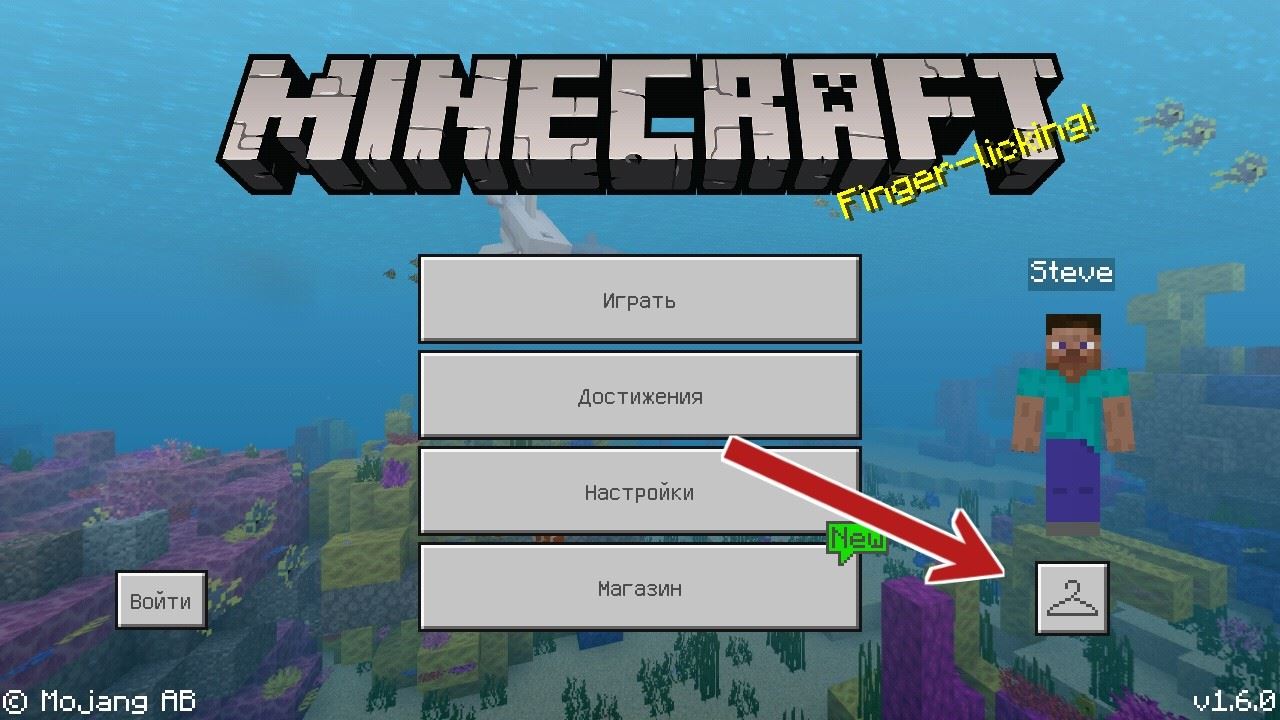
In the main menu, select the hanger button.
Then, depending on whether you installed the skin by importing the entire skinpack or simply downloaded the image, there are two ways:
1. If you have already imported, then simply select it from the list that is located under your already installed skin 
2. If you have downloaded it, then click on the gray model and using, for example, the Gallery, select an image of the skin.

Today have your own skin for minecraft has become very fashionable. You can find them almost everywhere, including on our website. It’s one thing to download a skin you like, another thing to install it correctly. How to do it?
There are a very large number of ways. Each of them has its own characteristics and disadvantages. However, with the help of them you can enjoy the game while in the same appearance in whichever you want.
Purchasing a license key
One of the most expensive methods. Of course, you can purchase a license from other sites at a cheaper price. However, there is a high risk that sooner or later you will not be able to log into your purchased account. Therefore, we recommend buying license key only on the official website.
pros
- Full control over your account
- You can install the skin you want
- You will be able to access licensed servers and participate in official events
Minuses
- Paid. Fairly high price
- If you do not buy a license on the official website, there is a risk of getting scammed
Using another player's nickname
The most popular and convenient way. All you need to do is log into the server under the licensed nickname of another player who already has the skin installed. To do this, it is important to have a pirated launcher with you (for example Launcher By AnjoCaido). It is worth noting that if you want to change the skin, then you will, accordingly, have to change the nickname.
What to do

pros
- All players will be able to see your skin
- You will save a lot of money
Minuses
- You will not be able to use your own nickname
- You will not be able to change the skin. Only the account owner can do this.
- Be prepared for the fact that the skin can be changed to another without your desire!
Replacing files in minecraft.jar
Previously, this method was very popular. Unfortunately, it has a large number of disadvantages, but it works, and that’s the main thing! :) This method is only suitable for a single player game.
What should be done

pros
- Quick installation
- Saving money
- You can choose the skin you like and play under your nickname.
Minuses
- Only you can see the installed skin! Other players will not be able to see it.
- On servers, players without a skin will look exactly like you.
Playing on servers with launchers that support the skin system
Most large servers have their own launchers. In addition, such launchers usually support a skin system. This means that when playing on servers that support it, you can easily install your own skin!
pros
- It's free on many servers
- All players will be able to see your skin!
- You can change the skin to the one you like
Minuses
- Perhaps on some servers the ability to use skins is paid service
- The skin used will be visible only on those servers that support the launcher with this skin system


